
In this tutorial, I’ll show you how to build a scroll-driven animated progress bar and a fade-in image effect in just 5 minutes. You’ll learn how to use the powerful animation-timeline property in CSS to create smooth animations with minimal code.
Demo:
Part One – Scroll-Driven Progress Bar
Step 1: Set Up the HTML
Let’s start with a simple HTML page structure that might look like this:
<html>
<head>
<title>Build Scroll Driven Animated Progress Bar & Fade-In Image With Just 5 Minutes | onlywebpro.com</title>
</head>
<body>
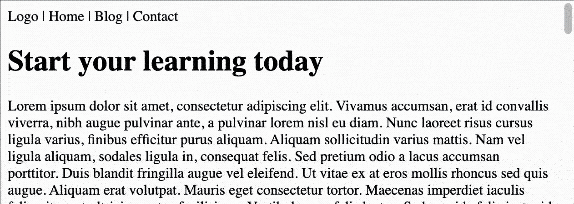
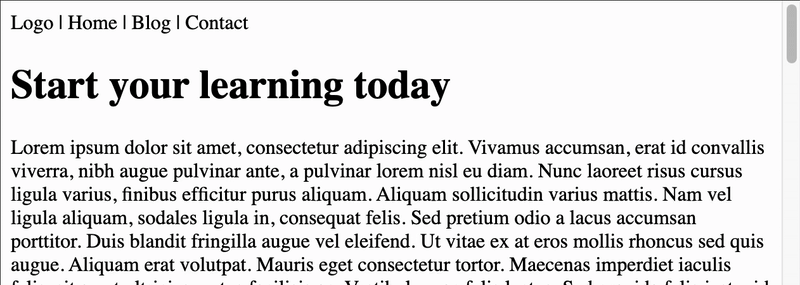
<header>Logo | Home | Blog | Contact</header>
<main>
<h1>Start your learning today</h1>
<p>Lorem ipsum dolor sit amet, consectetur adipiscing elit. Vivamus accumsan, erat id convallis viverra, nibh augue pulvinar ante, a pulvinar lorem nisl eu diam. Nunc laoreet risus cursus ligula varius, finibus efficitur purus aliquam. Aliquam sollicitudin varius mattis. Nam vel ligula aliquam, sodales ligula in, consequat felis. Sed pretium odio a lacus accumsan porttitor. Duis blandit fringilla augue vel eleifend. Ut vitae ex at eros mollis rhoncus sed quis augue. Aliquam erat volutpat. Mauris eget consectetur tortor. Maecenas imperdiet iaculis felis, sit amet ultricies metus facilisis ac. Vestibulum ac felis lectus. Sed gravida felis justo, id luctus dolor auctor in. Nunc et ligula ultricies, ornare velit sit amet, sagittis risus.</p>
<p>Praesent et nulla aliquet, luctus odio sit amet, lacinia est. Morbi tempus, odio a tincidunt pharetra, nunc eros tincidunt ligula, eget placerat tellus nulla a metus. Cras non maximus enim. Curabitur bibendum turpis a purus malesuada tempor. Donec facilisis malesuada nisi, blandit congue nulla scelerisque non. Quisque faucibus pulvinar massa, dapibus posuere nisl ultrices nec. Nunc arcu nunc, viverra molestie magna eget, auctor porta libero. Etiam interdum, ligula ut condimentum varius, magna lacus pharetra est, non molestie mi velit a magna. Cras gravida lectus eget sagittis dignissim. Integer laoreet convallis metus a rutrum. Nulla sed posuere mauris. Morbi nec odio molestie, viverra justo malesuada, eleifend nisi. Etiam iaculis velit porttitor eleifend suscipit. Aenean auctor, mauris ut molestie fringilla, sapien metus laoreet ipsum, eget luctus nibh felis ut neque.</p>
<p>Nam odio orci, viverra in pellentesque a, fermentum non enim. Mauris erat nisi, malesuada ac sapien id, blandit porttitor est. Etiam ac pretium nibh, et tempus massa. Quisque eget enim tortor. Aliquam libero lectus, interdum eu mauris sit amet, volutpat vehicula sapien. Quisque eleifend metus elit, et feugiat diam tempus ac. Nunc nibh orci, iaculis eu euismod nec, posuere quis lacus. Aenean tincidunt non magna vel dictum.</p>
<p>Morbi eget lacus suscipit, viverra velit quis, varius massa. Pellentesque habitant morbi tristique senectus et netus et malesuada fames ac turpis egestas. Donec et sem quis est lacinia maximus elementum pretium lacus. Aliquam sit amet elit imperdiet, pulvinar lectus id, aliquam urna. Quisque aliquet eros sed mauris convallis, cursus fringilla arcu euismod. Vestibulum et dolor at massa maximus posuere. Donec non dictum mi. In ac lorem a est vehicula lacinia. Nunc a nisi feugiat, eleifend justo ac, cursus lectus. Vivamus lacinia efficitur tempus. Nulla nec mauris tortor. Etiam malesuada ipsum lectus, id euismod augue pretium vel. Sed aliquam consequat mauris vitae volutpat. Vestibulum commodo, ipsum tempus aliquet iaculis, velit nulla ultricies purus, at varius nibh libero at massa. Mauris auctor arcu id augue porttitor pharetra. Praesent a vulputate erat.</p>
<p>Pellentesque mattis massa id odio vulputate, at iaculis augue pharetra. Praesent at elementum tortor. Proin eget fermentum ex. Nulla erat lectus, elementum non aliquam sed, aliquet ut enim. Class aptent taciti sociosqu ad litora torquent per conubia nostra, per inceptos himenaeos. Integer mattis elementum ligula non fringilla. Suspendisse elementum, massa placerat lacinia volutpat, velit ipsum posuere sem, non sodales lacus eros sed diam. Cras feugiat nibh eget est gravida congue. Aliquam sed nunc ut sapien bibendum consectetur non et urna. Aenean ut lacinia metus. Curabitur volutpat purus nec velit condimentum, id molestie sapien venenatis.</p>
<footer> All rights reserved. </footer>
</body>
</html>Step 2: Build the Scroll-Driven Progress Bar
Next, we’ll use a pseudo-element on the header to create the progress bar. Here’s what the code looks like:
header::after {
  background: #FCB900;
  content: "";
  height: .5rem;
  width: 100%;
  position: fixed;
  top: 0;
  left: 0;
  animation: progress-bar-animation;
  animation-timeline: scroll();
}
As you can see above, we assign the animation property to progress-bar-animation, which we’ll define shortly. Then we set animation-timeline: scroll(). This tells the browser to link the animation to the scrolling behavior, turning it into a scroll-driven animation.
⚠️ Important:
You must define the animation property before animation-timeline. Otherwise, it won’t work, because the browser first needs to know which animation is applied before it can attach the scroll timeline to it.
Finally, we define the keyframes to control how the progress bar animates:
@keyframes progress-bar-animation {
  from { width: 0%; }
  to { width: 100%; }
}
And just like that, you now have a scroll-driven animated progress bar on your page! As you scroll from top to bottom, the yellow bar at the top of the page expands smoothly from 0% to 100%.
In this example, the animation becomes active as soon as the user starts scrolling, thanks to scroll().
Part Two – Viewport-Triggered Fade-In Image
Instead of only using scroll-driven animation for progress, we can also trigger animations based on when elements enter the viewport. For example, let’s fade in an image when it appears on the screen.
Step 1: Add the Image
First, update your HTML to include an image right before the <footer>:
<p>
  <img src="https://plus.unsplash.com/premium_photo-1683121710572-7723bd2e235d?q=80&w=1632&auto=format&fit=crop&ixlib=rb-4.1.0&ixid=M3wxMjA3fDB8MHxwaG90by1wYWdlfHx8fGVufDB8fHx8fA%3D%3D" width="500" />
</p>
Step 2: Apply the Fade-In Effect
We want the image to fade in from opacity 0 to 1 when it enters the viewport. Here’s how to do it:
@keyframes fade-in {
  from { opacity: 0; }
  to { opacity: 1; }
}

img {
  animation: fade-in;
  animation-timeline: view();
}
This time, we’re using view() instead of scroll() for the animation timeline. This connects the animation to the element’s visibility in the viewport rather than the entire page scroll.
That gives us a smooth fade-in effect—pretty cool, right? 😎
However, if you pay close attention, you’ll notice that the image doesn’t reach full opacity until it’s almost leaving the viewport, which isn’t ideal for user experience. To fix this, we can use animation-range to tell the browser when the animation should start and stop.
In this case, we want the animation to complete when the image reaches 50% of the viewport height. So let’s update the CSS like this:
img {
  animation: fade-in;
  animation-timeline: view();
  animation-range: 0% 50%;
}
Now the animation feels more natural, and the image becomes fully visible much earlier—resulting in a much better viewing experience.
Conclusion
With just a few lines of CSS, you’ve built a scroll-driven progress bar and a smooth fade-in image effect—all without JavaScript. Using animation-timeline, scroll(), and view(), you now have powerful tools to create more interactive, engaging, and modern scrolling experiences on the web. From here, feel free to experiment: change the animation timing, trigger different effects, or combine multiple scroll animations together. Have fun building!